Creating Your Project on 3Dgigs: A Step-by-Step Guide
Embarking on your next 3D printing project with 3Dgigs is straightforward and secure. Follow these steps to create your project, whether it’s a tangible item that will come to life through 3D printing or a digital masterpiece ready for virtual realization.
1. Starting Your Project
- Begin by navigating to the “Create Project” link located in the main menu. This is your first step towards bringing your ideas to fruition.

create project menu item on 3dgigs

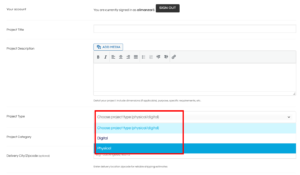
2. Choosing Your Project Type
- Select the appropriate project type to match your needs: “Physical” for projects that will result in a tangible item requiring shipment, or “Digital” for projects that will be delivered electronically.
define project type on 3dgigs

3. Detailing Your Project
- Fill out the project creation form with all necessary details to accurately describe your project. This includes:
- Project Category: Define the category that best fits your project.
- 3D Printing Technology: Specify if a particular 3D printing technology is required.
- File Uploads: Attach any relevant files that will help makers understand and quote your project accurately.
- Additional Requirements: Note any specific details or preferences.
- Delivery Instructions: For physical projects, outline any specific delivery or handling instructions as applicable

4. Protecting Your Privacy
- For projects requiring physical delivery, we recommend entering only the Delivery Zipcode in the delivery details field. This approach helps protect your privacy by not displaying your full address publicly.

5. Previewing and Submitting
- Before finalizing your project, you’ll have the opportunity to preview your submission. This is the perfect time to make any adjustments or add additional details to ensure your project is accurately represented.
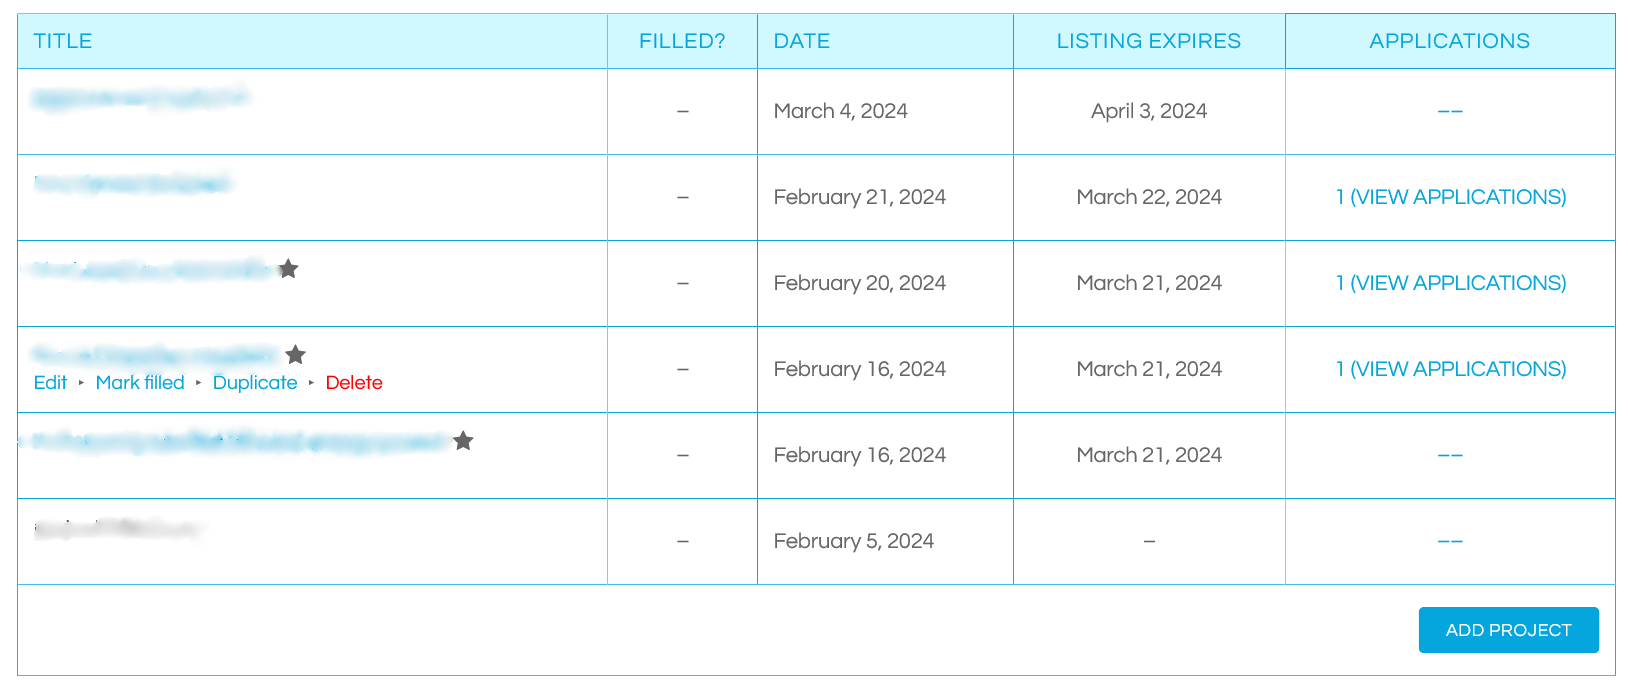
6. Managing Your Projects
- Once submitted, your projects are easily accessible from the “Projects Dashboard” within your account. Here, you can track progress, view proposals from makers, and manage communications.